Fence materials are priced by the linear foot. That means the single most important number for any fencing project is total distance. Get the distance wrong and you'll either run short mid-project or return a truckload of unused materials. Worse, you'll get a contractor quote that bears no resemblance to reality.
The good news: you don't need a 300-foot tape measure or a surveyor's wheel. Your phone can measure fence line distance by GPS in a few minutes, and the result is accurate enough to price out materials, compare quotes, and make a confident budget decision.
This guide covers every step, from measuring to materials math to 2026 cost estimates.
Why Measuring Fence Lines Accurately Saves Money
Fencing is one of those projects where a small measurement error creates a big cost problem. Here's why:
Materials are sold in fixed increments. Lumber comes in 8-foot lengths. Chain link fabric comes in 50-foot rolls. Wire fencing comes in 330-foot rolls. If you're 5 feet short, you buy a whole extra unit. If you're 40 feet over, you've wasted money on materials sitting in your garage.
Labor is priced per foot. Most fence installers quote $5-15 per linear foot for labor alone, depending on fence type and terrain. If your measurement is off by 50 feet on a 400-foot project, that's $250-750 in unexpected labor cost. On a wood privacy fence at $30/ft installed, a 50-foot error means $1,500 you didn't budget for.
Post holes are the expensive part. Each post requires digging (or augering) a hole 24-36 inches deep, setting the post, and filling with concrete or tamped gravel. At roughly $20-40 per post hole for professional installation, miscounting your posts by 5 means $100-200 wasted. And post count comes directly from your distance measurement.
The bottom line: spending 10 minutes measuring accurately can easily save $500-2,000 on a typical residential fence project.
Methods for Measuring Fence Lines
There are several ways to measure a fence line. Each has trade-offs in accuracy, speed, and cost.
Tape Measure
A 100-foot tape measure is cheap ($15-25) and accurate to within an inch. It works well for short, straight runs like a side yard or small garden fence. The downsides: you need a helper to hold the far end, it's slow for long distances, and it's awkward around corners. For anything over 200 feet or with more than a few turns, a tape measure becomes impractical.
Measuring Wheel
A surveyor's wheel ($30-80) lets you walk the line solo and read the distance off a counter. It handles corners well since you just push it along the path. It's accurate to about 1-2% on smooth ground. The limitation: rough terrain, tall grass, and slopes throw off the reading because the wheel bounces or slips. For a flat suburban yard, it's a solid tool. For rural or uneven property, less so.
GPS Phone App
A GPS-based measurement app on your phone lets you walk the fence line and drop points at each corner or turn. Modern phones are accurate to 1-3 meters (3-10 feet) under open sky, which translates to roughly 1-3% error on a 200-foot run. The advantages: no extra equipment, works at any distance, handles any number of corners, and saves the measurement digitally so you can reference it later. For most residential and agricultural fencing projects, this is the fastest and most practical method.
Drone or Satellite Imagery
You can measure from aerial photos by tracing the fence line on a satellite map. This works when you can't walk the line (dense brush, flooded areas, or you're measuring a property you haven't visited yet). Accuracy depends on the image quality and your ability to identify the exact line. It's a good planning tool but less precise than walking the line with GPS. For better GPS accuracy, walking the actual path is always preferable.
How to Measure Fence Lines with LandLens
LandLens has a dedicated distance measurement mode built for exactly this kind of job: measuring a line that follows a specific path, including turns and corners. Here's the process:
Watch how to measure fence lines using GPS on your phone
- Open LandLens and select the distance tool (the line icon on the map screen). The map will center on your current location with satellite imagery so you can see the ground clearly.
- Walk to your starting point. Stand where the fence will begin (or where the existing fence starts). Tap to place your first point.
- Walk along the fence line. At each corner or direction change, tap to place a point. LandLens draws a line segment between each pair of points and displays the running total distance at the top of the screen.
- Place extra points along curves. If your fence line follows a curved boundary, place points every 10-20 feet along the curve. More points means a more accurate distance for that section.
- Finish at the end of the fence run. When you reach the last corner or endpoint, place your final point. The total distance across all segments is your fence line measurement.
- Save the measurement. Give it a name like "Back Yard Fence" or "North Pasture Perimeter." You can revisit it later when ordering materials or sharing with a contractor.
The number of vertices (points) you placed also tells you how many corner and end posts you'll need, which is useful for the materials calculation below.
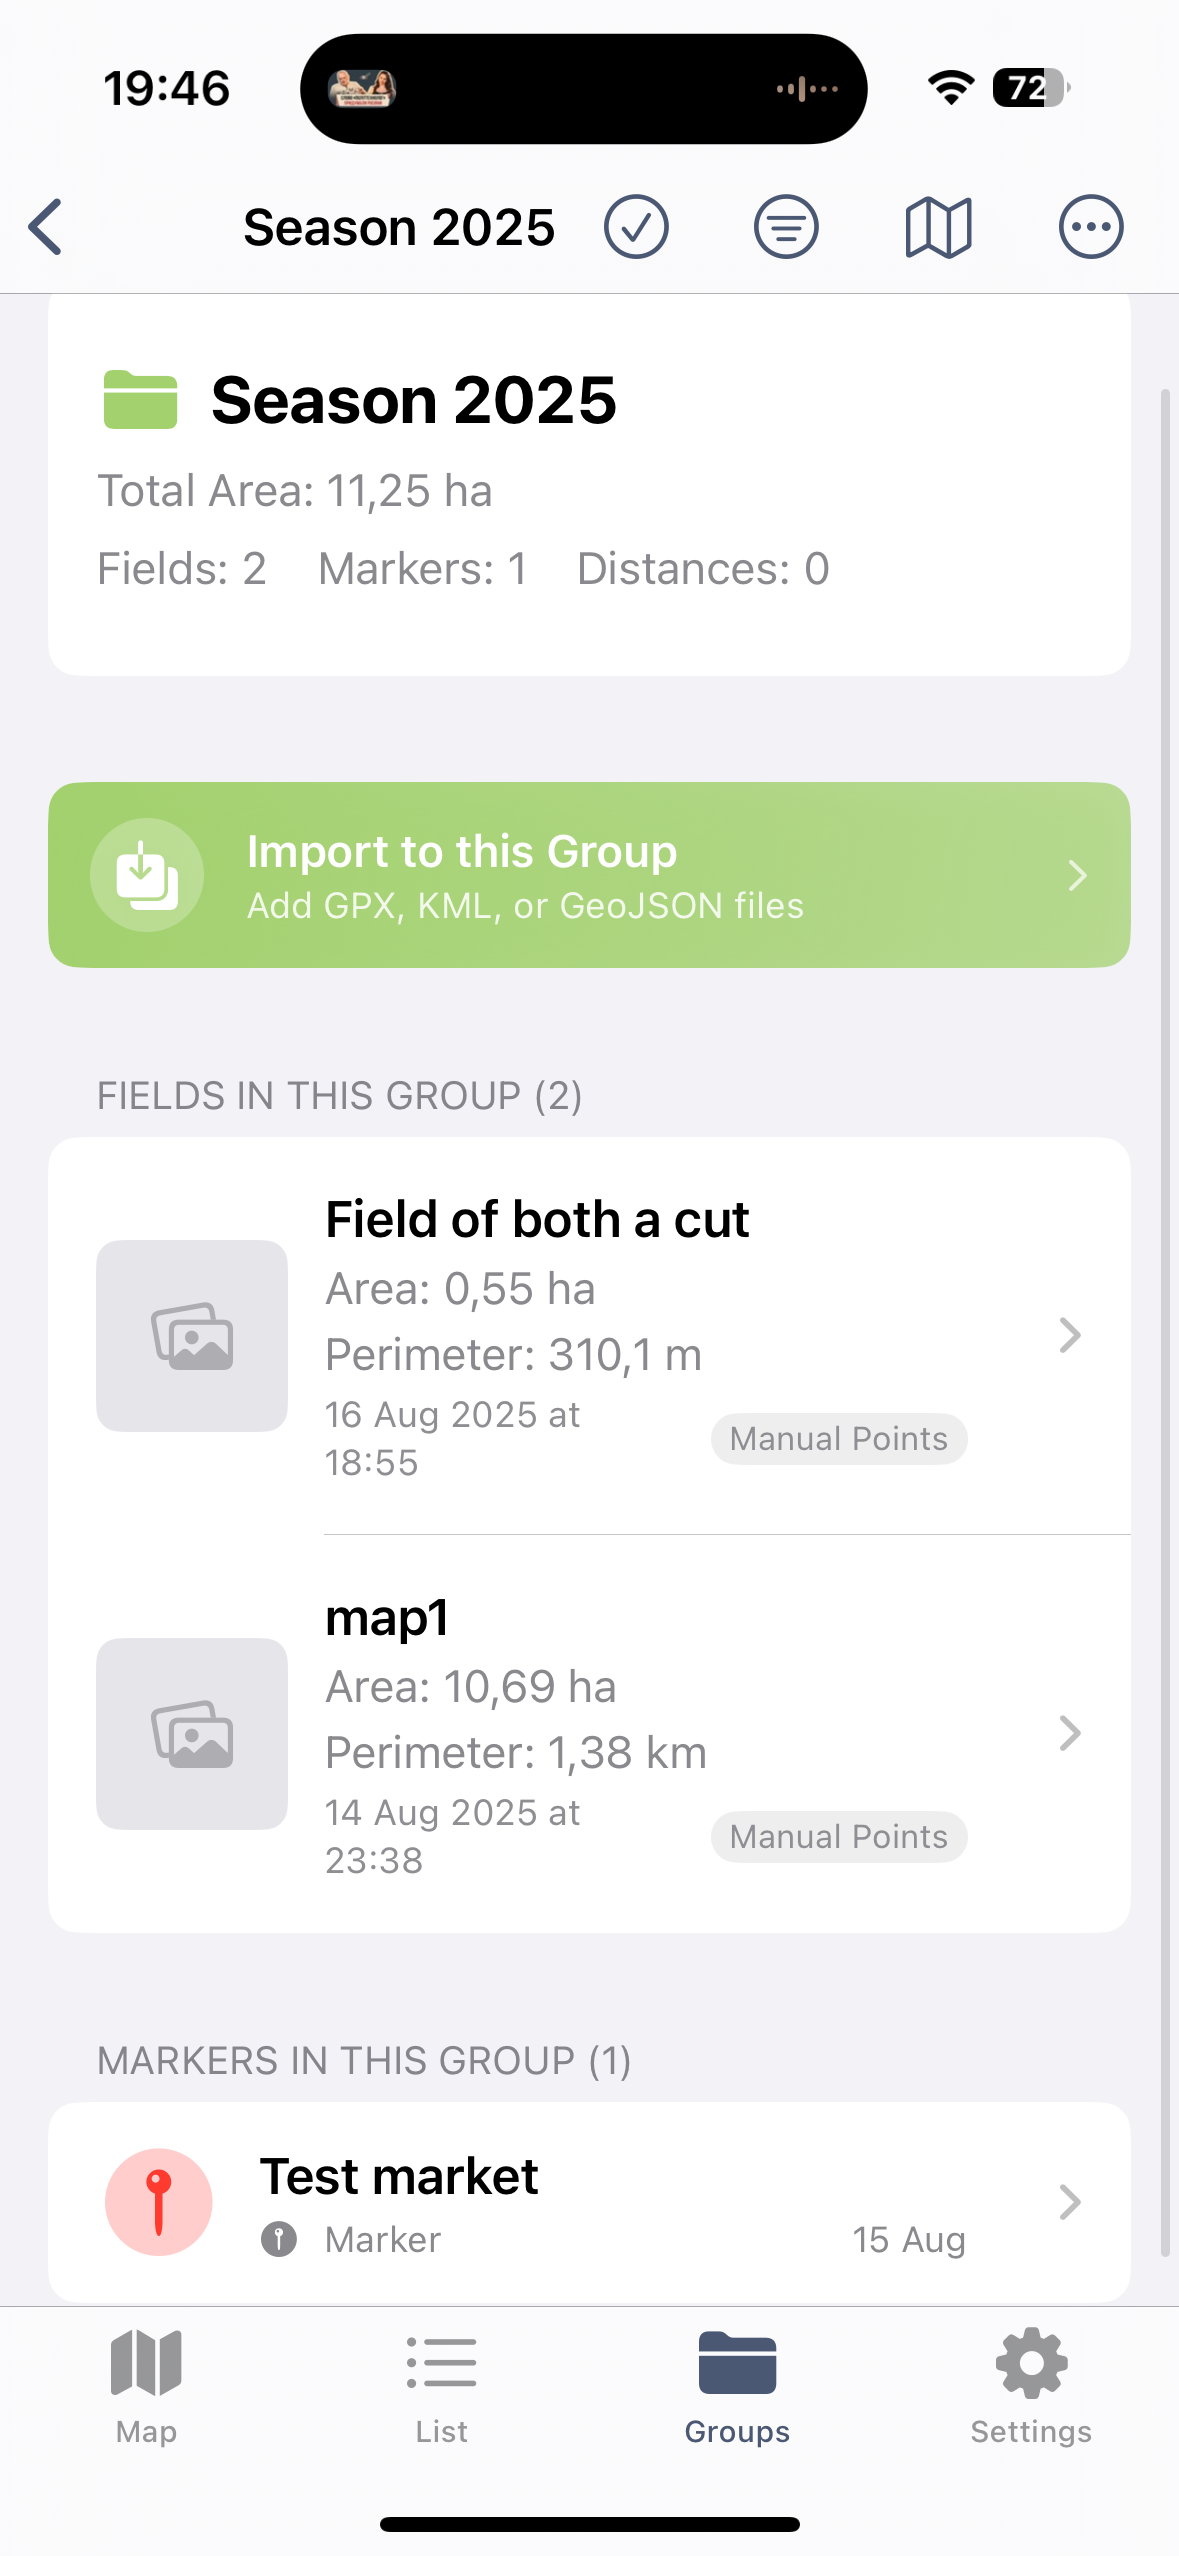
LandLens distance tool interface for measuring fence lines
If you've already measured your entire yard as an area using LandLens, you can skip re-measuring. The app shows both area and perimeter for every polygon. Just open your saved area measurement, read the perimeter, and subtract any openings (driveway, house wall, gate locations) to get your fence distance. You can measure land area and get perimeter data in one step.
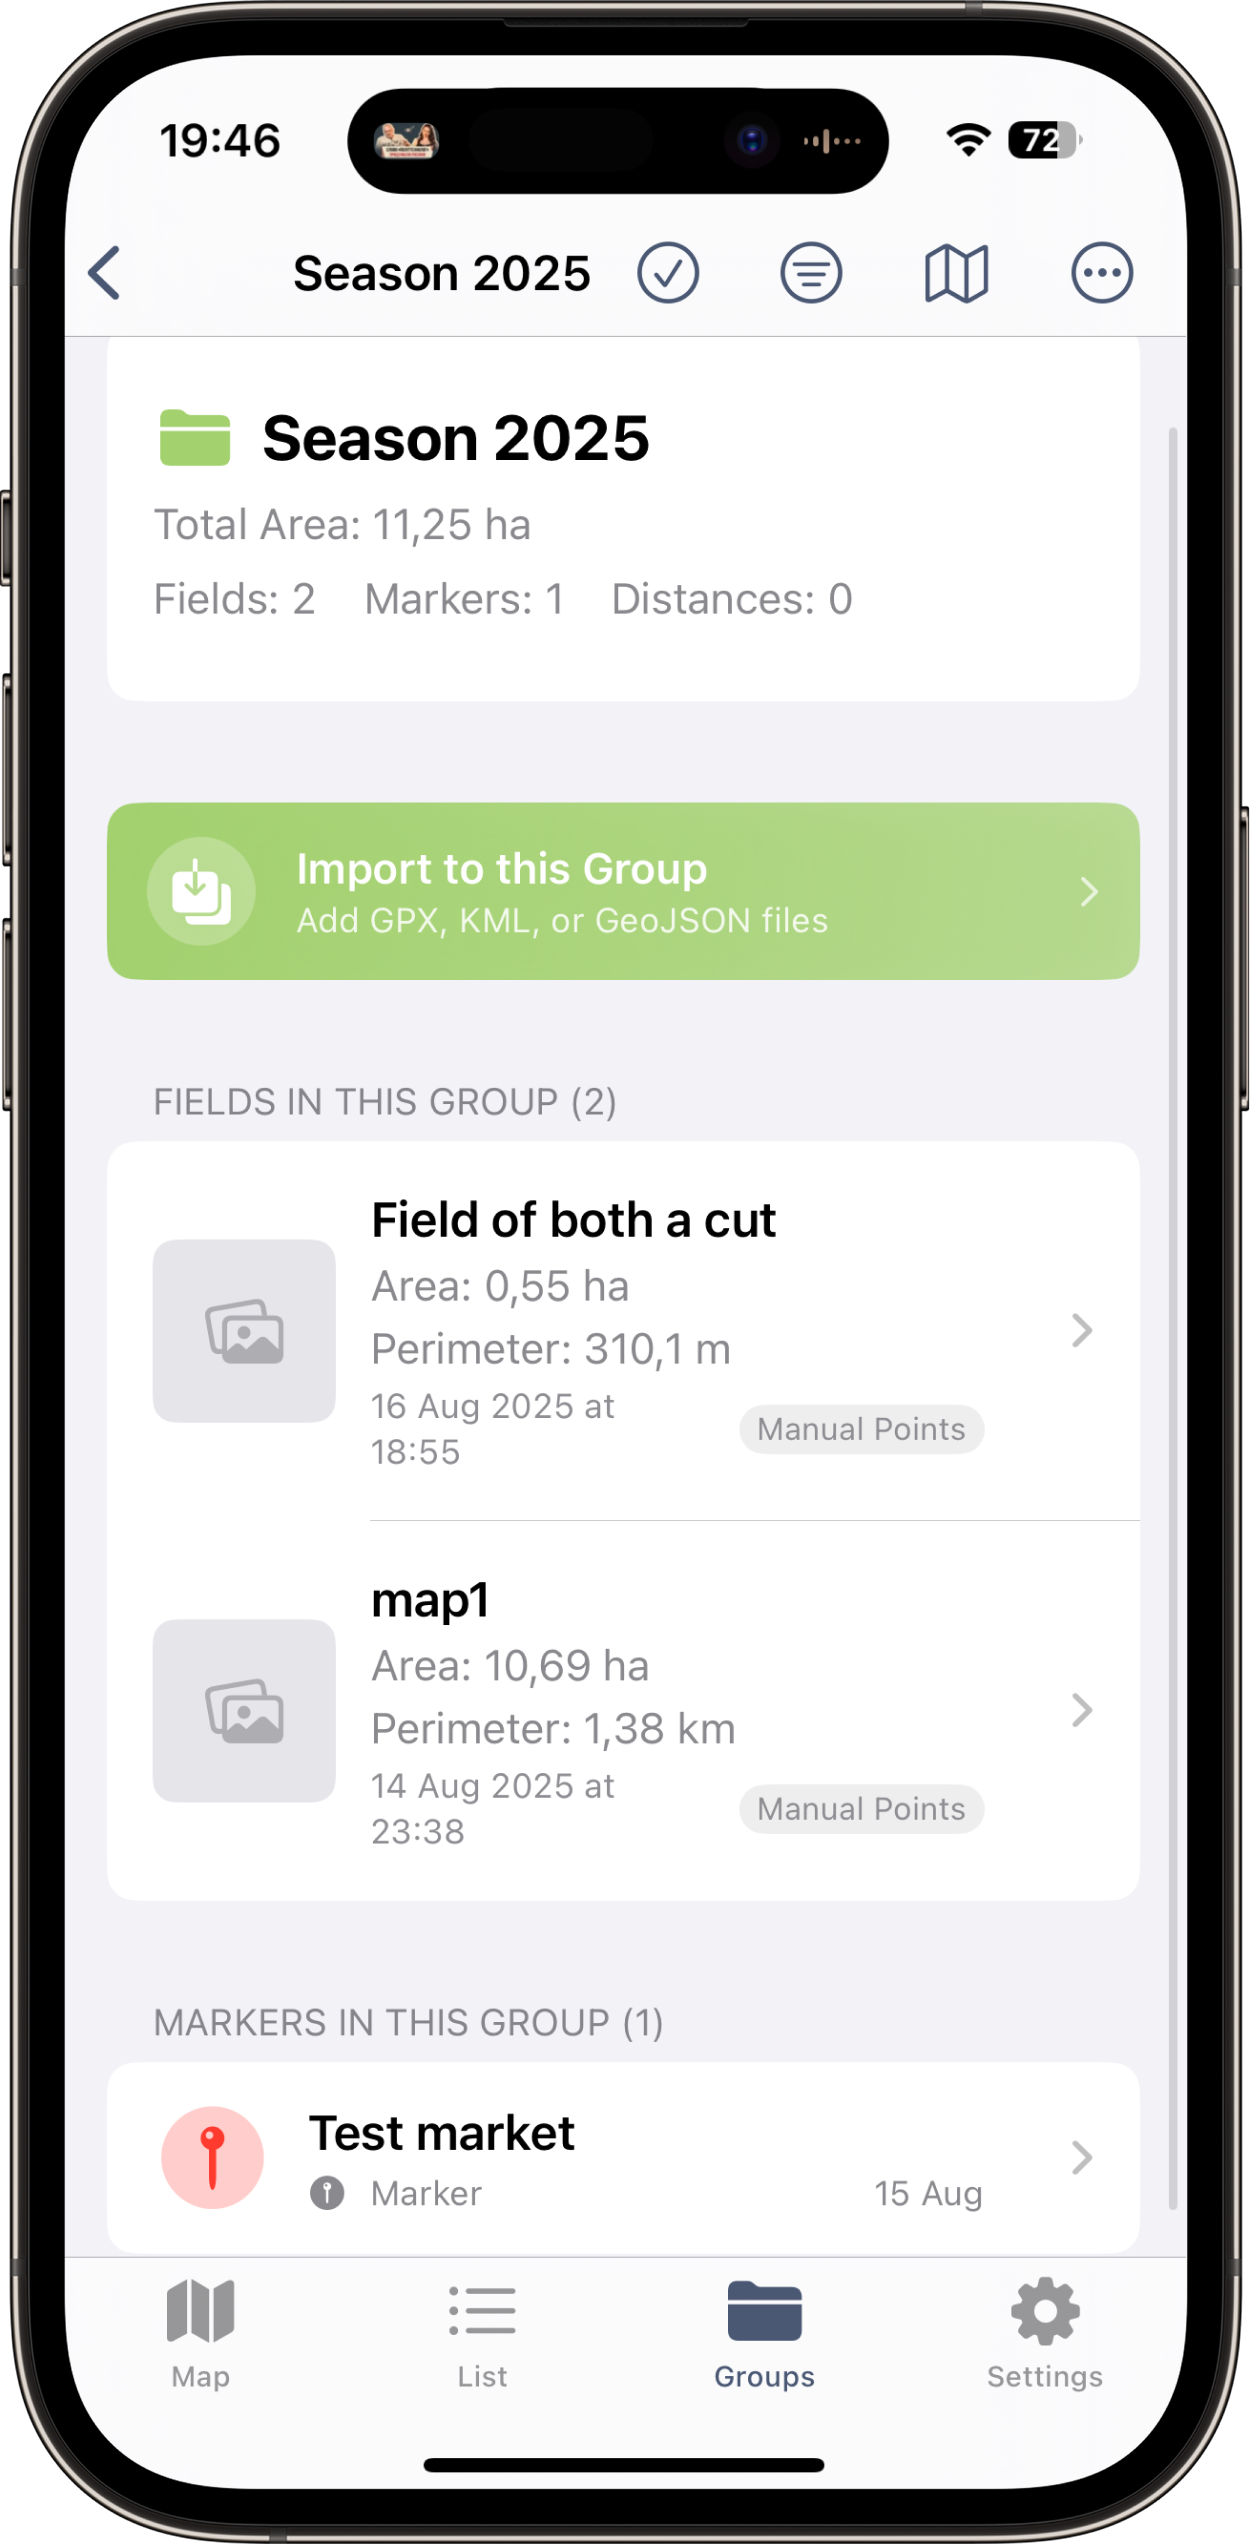
Example of a measured property perimeter that can be used for fencing calculations
Calculating Total Fencing Materials Needed
Once you have the total fence distance, the materials math is straightforward. Here are the formulas by fence type.
Wood Privacy Fence (6 ft)
This is the most common residential fence. Here's the breakdown for a 350-foot fence (a typical three-sided backyard):
- Posts: Set 4x4 posts every 8 feet on center (6 feet in high-wind areas). 350 / 8 = 43.75, so 44 sections = 45 posts. Use 6x6 posts at corners and gate openings. Add 1 post per gate.
- Rails: 3 horizontal 2x4 rails per section. 44 sections x 3 = 132 rails (2x4x8 lumber).
- Pickets: Standard 1x6 dog-ear pickets with no gap need about 2 per linear foot. 350 x 2 = 700 pickets. Order 5% extra for cuts and waste: 735 pickets.
- Concrete: One 50-lb bag per post hole (two bags for corner/gate posts). Roughly 50-55 bags.
- Hardware: 3 lbs of galvanized screws or nails per 8-foot section. About 17 lbs total.
Chain Link Fence (4 ft)
For a 200-foot chain link fence:
- Fabric: Sold in 50-foot rolls. 200 / 50 = 4 rolls.
- Line posts: Every 10 feet. 200 / 10 - 1 = 19 line posts.
- Terminal posts: One at each end, corner, and gate opening. Count your corners and add 2.
- Top rail: 10.5-foot sections. 200 / 10.5 = 20 pieces.
- Tension wire, ties, and caps: Sold as kits or individually. Budget one tension bar and bands per terminal post.
Wire/Farm Fence
For a 1,320-foot pasture perimeter (quarter mile, common for a 10-acre square):
- Wire: Field fence or no-climb wire comes in 330-foot rolls. 1,320 / 330 = 4 rolls.
- T-posts: Every 8 feet. 1,320 / 8 = 165 T-posts.
- Wooden corner/brace posts: 6-inch diameter treated posts at each corner and gate. A square pasture has 4 corners with H-brace assemblies, so 12 wooden posts (3 per brace).
- Clips: 3 wire clips per T-post = 495 clips.
2026 Fence Cost Breakdown by Type
These are typical US prices as of early 2026, including materials and professional installation. Material-only costs run roughly 40-50% of these figures if you're doing the work yourself.
| Fence Type | Installed Cost Per Linear Foot | 200 ft Total | 400 ft Total |
|---|---|---|---|
| Wood privacy (6 ft) | $25 - $50 | $5,000 - $10,000 | $10,000 - $20,000 |
| Chain link (4 ft) | $15 - $30 | $3,000 - $6,000 | $6,000 - $12,000 |
| Vinyl / PVC (6 ft) | $30 - $60 | $6,000 - $12,000 | $12,000 - $24,000 |
| Wrought iron / steel ornamental | $30 - $75 | $6,000 - $15,000 | $12,000 - $30,000 |
| Wire / farm fence (no-climb) | $1.50 - $4.00 | $300 - $800 | $600 - $1,600 |
| Barbed wire (3-strand) | $1.50 - $3.50 | $300 - $700 | $600 - $1,400 |
| Cedar board-on-board | $30 - $55 | $6,000 - $11,000 | $12,000 - $22,000 |
| Aluminum ornamental | $30 - $55 | $6,000 - $11,000 | $12,000 - $22,000 |
Worked example: You measure your backyard fence line at 285 feet using LandLens. You want a 6-foot wood privacy fence. At the midpoint price of $37/ft installed, your project estimate is 285 x $37 = $10,545. Materials alone (roughly 45% of that) would be about $4,745 if you go the DIY route.
DIY vs Professional Fence Installation
Knowing your fence line distance lets you compare the two options with real numbers.
Cost Comparison
For a 300-foot wood privacy fence:
- Professional installation: $25-50/ft = $7,500-15,000 total. Includes materials, labor, post hole digging, and cleanup.
- DIY materials only: $10-20/ft = $3,000-6,000. You supply all the labor. You'll also need a post hole digger or auger rental ($50-75/day), a level, a string line, and basic tools.
DIY typically saves 40-60% on cost but adds significant time.
Time Estimates
A two-person crew with an auger can install about 100-150 feet of wood privacy fence per day. A DIY homeowner working weekends should plan for:
- 100 feet: 1-2 weekends
- 200 feet: 2-3 weekends
- 400 feet: 4-6 weekends
A professional crew will typically finish 300-400 feet in 2-3 days.
Permit Considerations
Most municipalities require a fence permit for fences over 4 feet tall. Permit fees range from $20-200 depending on your jurisdiction. Whether you hire a pro or DIY, you need the permit. A professional installer usually handles this, but if you're DIY, call your local building department before you start. They'll want to know the total length (your measurement), the height, the setback from property lines, and the materials.
Measuring on Slopes and Uneven Terrain
Here's something most fence guides skip: horizontal distance and fence material distance are not the same thing on sloped ground.
GPS measures horizontal distance, which is the straight-line distance on a flat map. But a fence built on a slope follows the slope surface, which is longer than the horizontal distance. Think of it like the hypotenuse of a right triangle being longer than the base.
The Slope Factor
The extra material needed depends on the grade:
- 5% slope (gentle): Adds about 0.1% to distance. Negligible.
- 10% slope (moderate hill): Adds about 0.5%. Still small.
- 20% slope (steep): Adds about 2%. Starts to matter on long runs.
- 30% slope (very steep): Adds about 4.5%. On a 500-foot run, that's 22 extra feet of material.
- 50% slope (extreme): Adds about 11.8%. Significant, and you'll also have construction challenges.
The formula: Slope distance = Horizontal distance x sqrt(1 + (grade%)^2). For example, 200 feet of horizontal distance on a 20% slope: 200 x sqrt(1 + 0.04) = 200 x 1.0198 = 204 feet of actual fence material.
For most residential yards with gentle to moderate slopes, the difference is small enough to be covered by your 5% waste factor. But for hillside properties or ranch land with significant elevation changes, add 3-5% to your GPS-measured distance for materials ordering.
When walking the line with LandLens to measure distance, the GPS points you place do account somewhat for elevation. But for the most reliable results on steep terrain, add the slope correction or measure the slope angle with a phone inclinometer app and apply the formula above.
Fencing for Livestock and Agriculture
Agricultural fencing is a different game than residential. The distances are longer, the terrain is rougher, and the requirements depend on what you're keeping in (or out).
Pasture Perimeter Fencing
A 10-acre square pasture has a perimeter of about 2,640 feet (half a mile). At $2-4/ft for wire fencing, that's $5,280-10,560 in materials and labor. A 40-acre pasture has a perimeter of about 5,280 feet (one mile). Measuring this by tape is impractical. Walking it with a GPS app is the realistic approach.
Use LandLens to measure land area and get the perimeter simultaneously. For a pasture, walk the boundary and let the app calculate both the enclosed acreage and the total fence line distance.
Rotational Grazing Paddocks
If you're dividing a pasture into paddocks for rotational grazing, you need both perimeter fencing and interior cross-fences. A common setup divides a 20-acre pasture into 4-8 paddocks. The interior fencing can actually exceed the perimeter fencing in total length.
For example, a 20-acre rectangle (660 x 1,320 ft) has a perimeter of 3,960 feet. Dividing it into 4 equal paddocks with 3 cross-fences at 660 feet each adds 1,980 feet. Total fencing needed: 5,940 feet, or about 1.1 miles. At $2/ft for high-tensile wire, that's $11,880 in materials.
Livestock-Specific Requirements
- Cattle: 4-strand barbed wire or high-tensile electric. Posts every 12-15 feet for barbed wire, 20-30 feet for electric with step-in posts.
- Horses: No barbed wire (injury risk). Use board fence, no-climb wire, or electric tape. Higher cost per foot.
- Sheep/Goats: Woven wire (no-climb) with tight spacing at the bottom. Goats are escape artists; plan for 4-foot minimum height and buried or hot bottom wire.
- Poultry: Hardware cloth or welded wire with small mesh. Usually short runs around a coop, but measure carefully since hardware cloth is not cheap ($1-3/sq ft).
Permits and Property Line Setbacks
Before you order a single post, you need to know two things: where your property boundaries are, and how far inside them you need to build.
Common Setback Requirements
Most jurisdictions require fences to be set back from the property line. Typical requirements:
- Front yard: 10-25 feet from the property line, or aligned with the front face of the house. Many neighborhoods prohibit front-yard fences over 3-4 feet.
- Side yard: 0-5 feet from the property line. Some areas allow building directly on the line; others require 2-6 inches to 2 feet of setback.
- Rear yard: 0-5 feet from the property line. Usually the least restrictive.
- Corner lots: Often have larger setback requirements on the street-facing side, sometimes 10-15 feet.
Why to Build Inside Your Line
Even if your jurisdiction allows building on the property line, experienced fence builders recommend setting your fence 2-6 inches inside it. Here's why:
- Survey tolerance. Property pins can be off by a few inches. Building a few inches inside gives you a buffer.
- Maintenance access. You'll need to reach both sides of the fence for repairs, staining, or cleaning. If the fence is exactly on the line, you'd technically need your neighbor's permission to access the other side.
- Neighbor relations. A fence clearly inside your property is unambiguously yours. No disputes about who owns it, who maintains it, or who can modify it.
This means your actual fence line measurement will be slightly shorter than your full property boundary. Measure your property boundaries first, then plan the fence line 2-6 inches inside.
Corner Posts, Gates, and Special Sections
Your total distance measurement tells you the overall length, but the details of corners, gates, and special sections affect your materials list significantly.
Corner Posts
Every change of direction requires a corner post, which is heavier duty than a line post. For wood fences, corners use 6x6 posts instead of 4x4. For wire fencing, corners need H-brace assemblies (2-3 posts with cross bracing). Corner posts cost 2-3x more than line posts to install.
When you measure with LandLens, the number of points you placed equals the number of corner/end posts you'll need. A straight fence: 2 posts. An L-shape: 3. A U-shape (three sides of a yard): 4. A full perimeter: 4 corners minimum.
Gates
Plan gate locations before measuring. Each gate needs:
- Gate posts: Heavier than line posts. Usually 6x6 for wood fences, even if line posts are 4x4.
- Hardware: Hinges, latch, and possibly a spring closer or drop rod. Budget $30-100 per gate for hardware.
- The gate itself: A pre-built 4-foot walk gate runs $100-250 for wood, $75-150 for chain link. A 10-16 foot double drive gate for vehicle access runs $300-800.
Subtract gate widths from your fence distance to get the actual fence panel footage. A 350-foot fence line with a 4-foot walk gate and a 12-foot drive gate needs 334 feet of fence panels, but still 350 feet worth of posts (since gates need posts on both sides).
Special Sections
Some common situations that affect your measurement and materials:
- Stepped sections on slopes: If you're stepping the fence (keeping panels level with gaps at the bottom on slopes), you need the horizontal distance, not the slope distance.
- Racked sections on slopes: If panels follow the slope angle, you need slope-adjusted distance.
- Sections along buildings: If your fence ties into a house or garage wall, you don't need fence material for that span, but you do need attachment hardware.
- Retaining walls: A fence on top of a retaining wall has unique post-mounting requirements. Budget extra for brackets or core-drilled post bases.
Getting Accurate Quotes from Fence Contractors
Having your fence line distance measured before calling contractors puts you in a much stronger position. Here's how to use it:
Share specific numbers. Instead of saying "I need a fence around my backyard," say "I need 285 linear feet of 6-foot wood privacy fence with 6 corners and one 4-foot walk gate." This gets you an apples-to-apples quote from every contractor.
Ask for itemized quotes. With your measurement in hand, you can compare quotes line by line. Materials should be roughly similar across contractors, and the labor rate should scale proportionally to your footage.
Get three quotes minimum. Pricing varies significantly between contractors, especially in busy seasons (spring and early summer). With your LandLens measurement, you can get phone quotes for initial screening without waiting for each contractor to come measure in person.
Verify their measurement. When a contractor does visit, they'll take their own measurement. If their number is more than 5% different from yours, ask why. It could mean they're including (or excluding) something you didn't consider, like a return section or a tie-in to the house.
Watch for add-ons. Some contractors quote a low per-foot rate but add separate charges for corners, gates, demolition of old fencing, grading, or concrete. Your detailed measurement helps you catch these. If you know you have 7 corners and they're charging $150 per corner, that's $1,050 that should be in your budget from the start.
If you're also planning other outdoor projects, the same measurement process works for landscaping projects like patios, garden beds, and retaining walls.
Getting Started with LandLens
Measuring your fence line is a 5-10 minute job. Open LandLens, select the distance tool, walk the line, and tap at every corner. You'll have a saved measurement with the total distance, individual segment lengths, and the number of turn points, which is everything you need to estimate materials, calculate cost, and get informed contractor quotes.
For the best results, measure on a clear day with open sky for the strongest GPS signal. Walk at a steady pace and pause briefly at each corner before placing a point. If your fence will follow your property boundaries, measure those first, then plan your fence line inside them.
The distance number is the foundation of every fencing decision: what you can afford, how much material to order, and whether the contractor's quote makes sense. Better to know that number before you start than to discover it after the posts are in the ground.
Try LandLens free
Measure any land area, distance, or perimeter with your iPhone or iPad. No equipment needed.
Share Your Feedback
Help us build a better LandLens. Request features, report bugs, or tell us what you think.